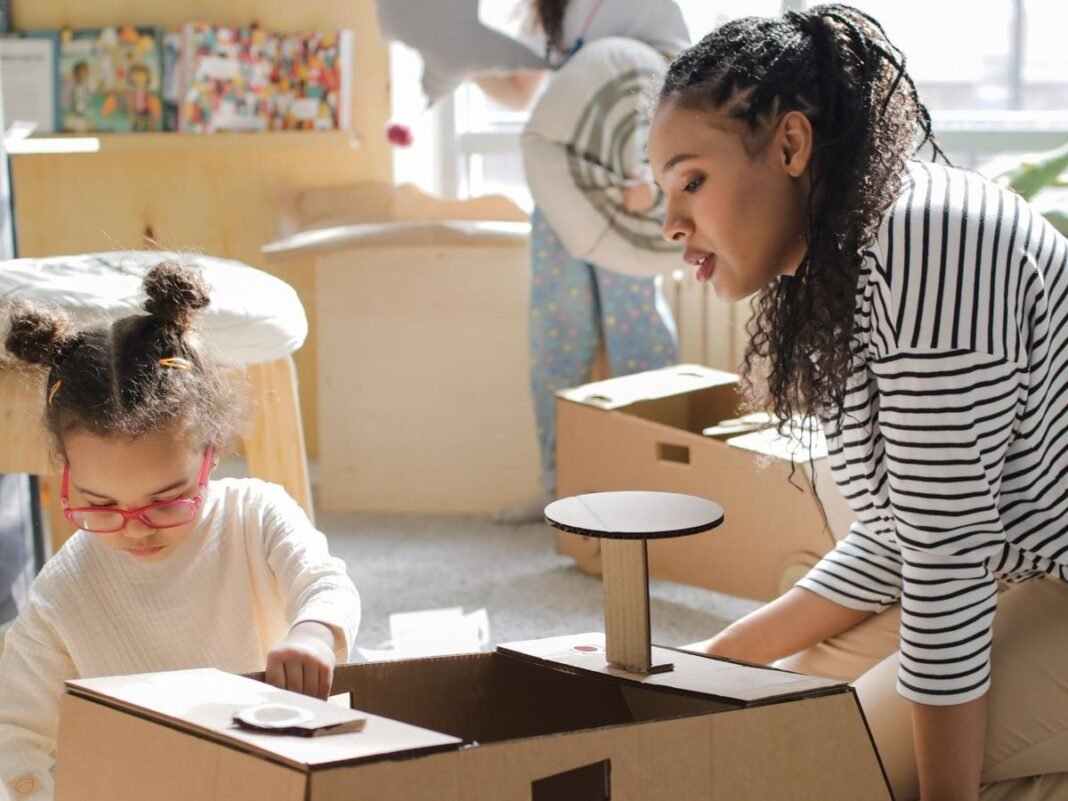

STEM activities at home do not need an expensive kit. A useful activity gives a child something to predict, build, measure or explain using materials you can supervise safely. These ten ideas cover science, technology, engineering and maths. Choose one, keep the first version simple and leave time to talk about what happened.
STEM Activities at Home: Prepare First
Use clean materials, a stable work surface and suitable adult supervision. Check allergies and keep small parts away from children who may mouth them. Adults should handle difficult cutting. Keep water away from electrical equipment, avoid mains-powered experiments and do not taste experiment materials.
The suggested times describe a short exploration, not guaranteed completion times. Some observations take longer. For a broader selection of activities, see the Science Buddies STEM collection. The ideas below are practical starting points to adapt to your child, not reports of tests conducted by BrainyBloomClub.
1. Fold a Paper Bridge
Materials: paper, two equal-height books, a few suitable counters and a tray. Time: about twenty minutes.
Set a short gap between the books on a stable table. Compare a flat sheet with an equal-sized accordion-folded sheet. An adult adds the same small load to each, stopping at visible sagging. Never use body weight or heavy objects. Ask how changing the shape affected bending.
2. Build a Freestanding Tower
Materials: paper, tape and a ruler. Time: about twenty minutes.
Use a fixed amount of paper and tape to build a tower that stands without support. Measure from the table to its highest point. Compare a broad base with a narrow base while keeping the material allowance similar. Keep structures low enough to handle without climbing or reaching overhead.
3. Explore Floating Foil
Materials: a shallow water tray, foil and a few suitable counters. Time: about fifteen minutes.
Shape foil into a small boat and predict whether it will float. Try changing the sides or widening the base. Add only a small supervised load and record what happens. Keep the water shallow, clean spills promptly and stay with the child. Discuss how the boat’s shape affects the water it displaces.
4. Make a Paper Helicopter
Materials: paper and age-appropriate scissors. Time: about twenty minutes.
Make a simple paper rotor with two blades folded in opposite directions. Release it from an adult’s hand at a modest fixed height over a clear floor area. Do not climb onto furniture. Compare two blade lengths using the same paper and release height, and note whether the motion changes consistently.
5. Send Instructions to a Paper Robot
Materials: a drawn grid, a paper character and instruction cards. Time: about fifteen minutes.
One person writes “move one square right” or “turn left”; the other follows the instructions exactly. Keep the activity on the table. Introduce one ambiguous instruction and improve it together. This explores algorithms and debugging without a device or a blindfolded obstacle course.
6. Sort and Explain
Materials: large safe household objects or picture cards. Time: about ten minutes.
Sort by one visible property, such as shape, then sort the same collection by a different property. Ask the child to explain the rule and place a new item. A useful extension is to find an object that belongs in two groups and discuss why categories can overlap.
7. Measure a Shadow
Materials: paper, a pencil and a stationary object in a safe location. Time: a few minutes at several points in the day.
Mark the object’s shadow and record the time. Return later without moving the object and compare direction and length. Never look directly at the Sun. This is a repeated observation, not a thirty-minute experiment, and clouds may affect what you can see.
8. Compare Paper Absorption
Materials: equal-sized paper samples, water, a dropper and a tray. Time: about twenty minutes.
Add the same number of drops to each sample and observe the spread. Keep sample size, water and timing consistent. Repeat with fresh dry samples. Ask what the test measures and what it does not: the largest wet patch is not automatically proof of the greatest total absorbency.
9. Create a Pattern Rule
Materials: coloured paper shapes. Time: about ten minutes.
Arrange a repeating sequence such as circle, square, square. Ask the child to continue it, explain the repeating unit and make a different sequence using the same rule. Older learners can predict a later position and explain their reasoning rather than counting every shape.
10. Design Packaging for a Paper Ball
Materials: scrap paper, a small cardboard box and tape. Time: about twenty minutes.
Challenge the child to keep a paper ball from moving much inside the box. Gently tilt the closed box rather than dropping it from a height. Compare two packing arrangements using the same amount of material. The goal is a justified design choice, not protecting a raw egg through increasingly risky drops.
Turn Activity into Learning
Finish with three questions: What did you predict? What did you notice? What would you change next time? Younger children can draw their answer; older learners can record measurements and compare repeats. Keep surprising results rather than forcing the expected answer.
Find more on our STEM projects hub and use our Parents hub to plan a manageable learning routine.