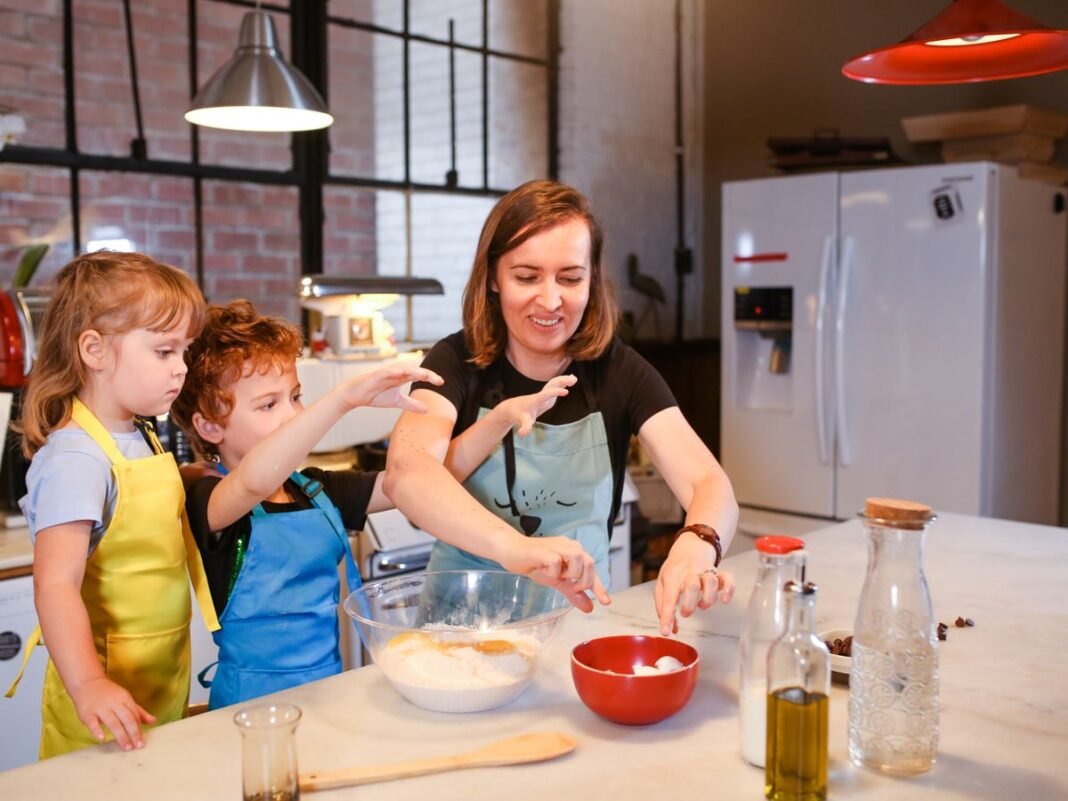

Kitchen science experiments can help children investigate mixtures, materials and change with everyday supplies. The kitchen is also a food-preparation space, so separate the experiment from eating, check allergies and clean up afterwards. These seven activities avoid open flames, heating paper, raw-egg handling and borax-based slime. An adult should still choose and supervise each activity for the children present.
Kitchen Science Experiments: Safety and Setup
Use small quantities on a washable tray. Do not taste materials, even when they began as food. Keep liquids away from sockets and devices, wash hands, and label experiment containers so nobody mistakes them for a drink. Adults should manage any cutting and check household products before use.
Choose one question per activity. “What happens?” is a good start, but a comparison becomes more useful when you change one factor and keep the others consistent. These are adaptable teaching ideas, not guaranteed outcomes or evidence that a particular product is best.
1. Cornflour Oobleck
You need: cornflour, also called cornstarch, water, a bowl and a spoon. Begin with roughly two parts cornflour to one part water by volume, adding water gradually until the mixture is workable. Keep dry powder away from faces and avoid creating dust.
Press the mixture quickly with the spoon, then move the spoon slowly. Compare how it resists the two motions. This suspension can behave differently under different stresses; it is not simply turning permanently from a liquid into a solid.
The Science Buddies oobleck activity provides further explanation. Collect the mixture for disposal in household rubbish where local rules permit, rather than pouring a thick batch down the sink. Do not store it as food.
2. Oil and Water Layers
You need: a clear unbreakable container, water, a small amount of cooking oil and a tray. Pour the water first, then add oil. Observe the layers without tasting or touching the mixture unnecessarily.
Stir gently with a spoon and watch what happens after it rests. Oil and water do not mix readily, and the cooking oil usually forms the upper layer because it is less dense than water. Do not add rubbing alcohol, unknown cleaners or other household chemicals.
Ask the child to draw the container immediately after stirring and again later. The comparison separates a temporary dispersion from a lasting mixture. Wipe up the oil and dispose of it appropriately rather than pouring it down the drain.
3. Colour on a Paper Towel
You need: white paper towel, washable water-based markers, a shallow container and water. Draw a small mark near one end of a strip. Place only the very bottom edge in water, keeping the ink mark above the starting water level.
Watch the water travel through the paper. Some marker inks separate into different colours as their components move differently. Not every pen will separate clearly, so a single unchanged colour is still an observation rather than a failed lesson.
Compare two pens using equal strips and the same water depth. Keep the experiment materials away from food and clean any stains promptly. No iron, lamp or flame is needed.
4. An Open-Cup Fizz
You need: a small open cup, a tray, a little baking soda and household vinegar. An adult sets out small quantities. Add a small spoonful of baking soda to the cup and slowly add a little vinegar while keeping faces away.
The reaction releases carbon dioxide gas, visible as bubbles. Keep the container open: never seal the mixture in a bottle or use it to launch a projectile. Do not add cleaners or taste the mixture.
For a comparison, vary only one measured ingredient and keep the other conditions consistent. A larger overflow is not automatically a better experiment. Record the method as carefully as the visible result.
5. Dissolving Sugar
You need: two clear cups, equal amounts of room-temperature water, equal small amounts of sugar and a spoon. Stir one cup at a steady rate while leaving the other still.
Observe how quickly visible grains disappear. Stirring can affect the rate of dissolving; it does not necessarily change the final amount that can dissolve at that temperature. Keep the sugar quantity small enough for a manageable comparison.
Do not call the sugar “gone”. Discuss how it can remain in the water even when individual grains are no longer visible. Discard the experimental mixture rather than serving it as a drink.
6. Ice-Melting Observation
You need: two similar ice cubes, two small dishes and a timer. Place one dish in a warmer room location and one in a cooler location chosen by an adult. Avoid appliances, heaters and direct contact with electrical equipment.
Record the starting conditions and observe the melt over time. The cubes should begin as similar as possible. Ask what else might differ, such as airflow or the surface beneath the dish. This helps children recognise limitations rather than claiming a perfect controlled test.
7. Folded Paper and Water Spread
You need: equal-sized pieces of paper towel, a dropper, water and a tray. Fold one sample and leave another flat. Add the same small number of drops to each, using the same pace and position.
Compare where the water spreads and how the layers feel afterwards. State the question narrowly: you are observing a particular arrangement, not proving which paper towel is universally most absorbent. Repeat with fresh dry samples if the first result is unclear.
Keep a Small Science Record
For each activity, record the question, materials, change made and observations. Let children draw or dictate instead of requiring a long written report. Ask what evidence would make them change their explanation.
Explore our Science hub for explanations and our STEM projects hub for further supervised investigations.